- Home
- Company Views
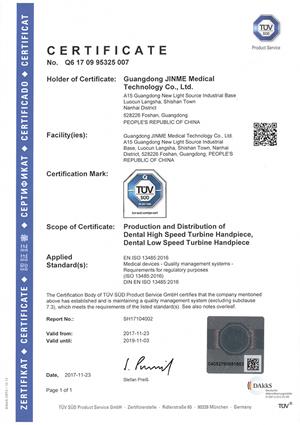
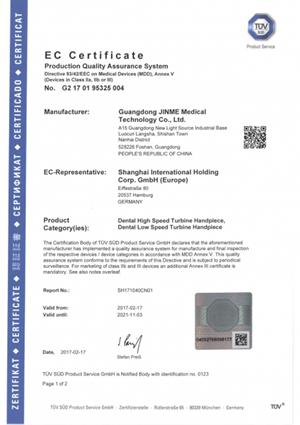
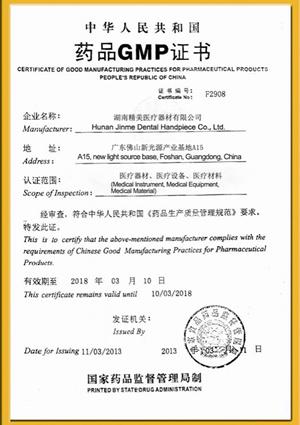
- Quality Control
JINME carries out full inspection, sampling inspection or batch inspection for all incoming raw materials and spare parts. Unchecked products, conforming products and non-conforming products are strictly separated and non-conforming products that do not meet company requirements are clearly marked. We will not use, manufacture, or deliver non-conforming products.
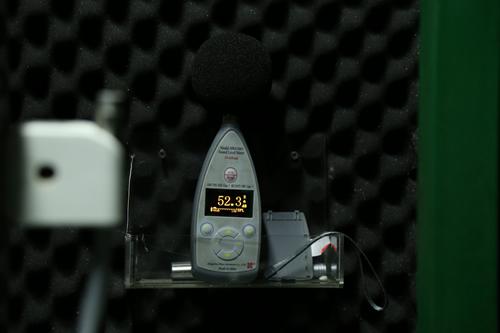
The JINME quality control system uses a noise laboratory so that we can develop products that operate with noise below 60dB. We utilize a radial run-out tester to control the vibration value of dental handpieces within 0.005mm. The lifetime testing facility is designed to simulate the normal use of handpieces and we can test the degree of wear for all spare parts used in the equipment and collect data for optimization. We aim to provide products with the highest level of performance and longest service life for our dental professional customers.
Testing equipment assurance
1. Automatic sorting equipment
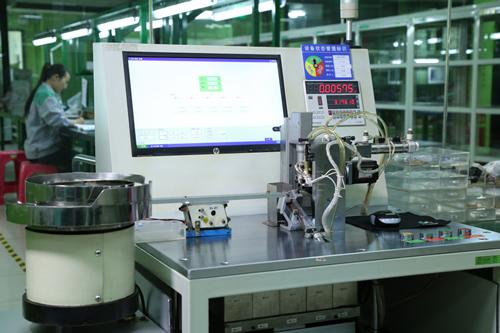
A German automatic spindle classification machine is used along with windmill automatic sorting equipment. The automatic spindle classification machine is mainly used to test the pulsation of the shaft cores of dental handpieces and windmill automatic sorting equipment is mainly used to measure the external diameter of impellers. The aim of combining two pieces of sorting equipment is to find an optimal combination of impeller and bearing to minimize the joint gaps, so that the vibrating frequency can be reduced, the wearing rate of bearings is decreased and the service life of handpieces is prolonged.
2. Dynamic balance testing
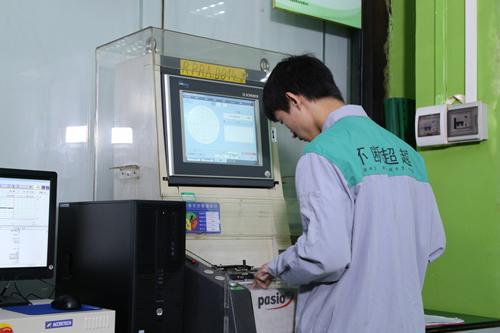
Our dynamic balance tester is imported from Germany to test the balance degree of our handpiece impellers to reduce the impeller vibration during high speed rotation. Minimizing the vibration decreases impeller wear and maximizes the service life of the handpieces. When the rotational speed is over 300,000 rpm, the balance of the impeller will significantly influence the vibration, noise, and useful life of the dental handpiece. For small rotors lighter than 1g, only German produced dynamic balance testers can be used to perform testing.
3. Roughness testing
Our roughness testing equipment, originally imported from Japan, is extremely precise. The precision and process control of dental handpieces cannot be observed with the naked eye. They must depend on more high-precision equipment such as roughness testers and roundness testers to ensure that the precision of every spare part meets the standard, to minimize the vibration and noise, and to prolong the service life of handpieces.
4. Roundness testing
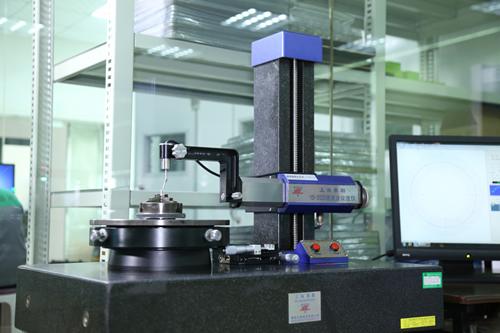
Our roundness tester, imported from Germany, is used to test the roundness of handpiece shaft cores to avoid the vibration caused by high speed rotating that can influence the lifetime of handpieces.
5. Multifunctional microscope
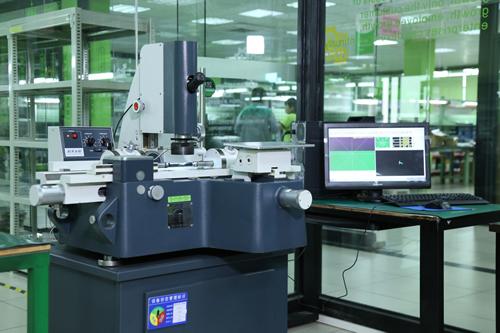
The multifunctional microscope, originally imported from Germany, can magnify two-dimensional plane and test the surface gloss of spare parts. It can observe the angle that common magnifiers cannot reach so that the surface gloss of every spare part can meet the relevant standards. This can reduce noise, decrease wearing rate and maximize the service lifetime of handpieces.
6. Lifetime testing
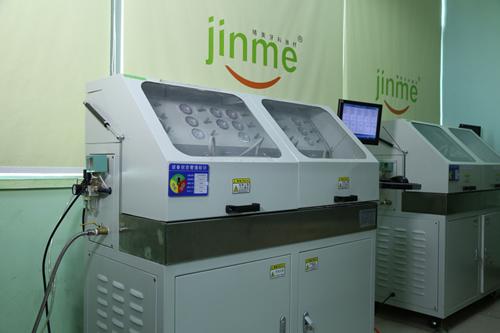
By using a lifetime testing facility to simulate the normal use of dental handpieces, we can test the wearing degree of all spare parts and collect data for optimization and improvement. We aim to provide products with better performance and longer service lives for our users.
7. Mute testing
Generally, the noise of handpieces is over 70 dB, which can lead to discomfort for patients. Noisy environments can also pose a danger to dental professionals working with the equipment every day. JINME has specifically established our mute laboratory to test the noise output of our products and minimize the sound. We can produce handpieces that feature a noise output below 60 dB during use.
8. Radial run-out testing
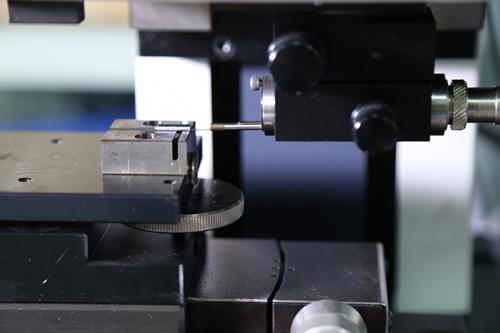
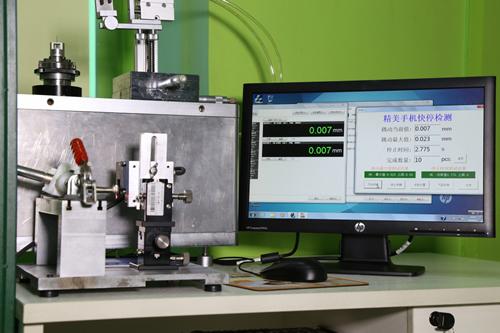
The radial run-out tester is used for the radial run-out testing of dental handpieces. For dentists who pursue perfection, the vibration of handpieces will obviously interfere with the treatment process. JINME controls the vibration value of dental handpieces within 0.005mm to ensure the good treatment experience effectively. Besides, this can also decrease the wearing rate of handpiece bearings and largely prolongs the service life of handpieces.
Quality control system assurance
Quality control index
World-class manufacturing and processing facilities imported from Switzerland, Germany and Japan are adopted to ensure that we can produce high-quality dental handpieces for our customers.
For spare parts, the precision can reach 0.005mm and the surface gloss can reach Ra0.2;
For polishing, the precision can reach 0.0003mm and the surface gloss can reach Ra0.05mm.


